Monday, November 28, 2011

Simplicity 2176 Do over


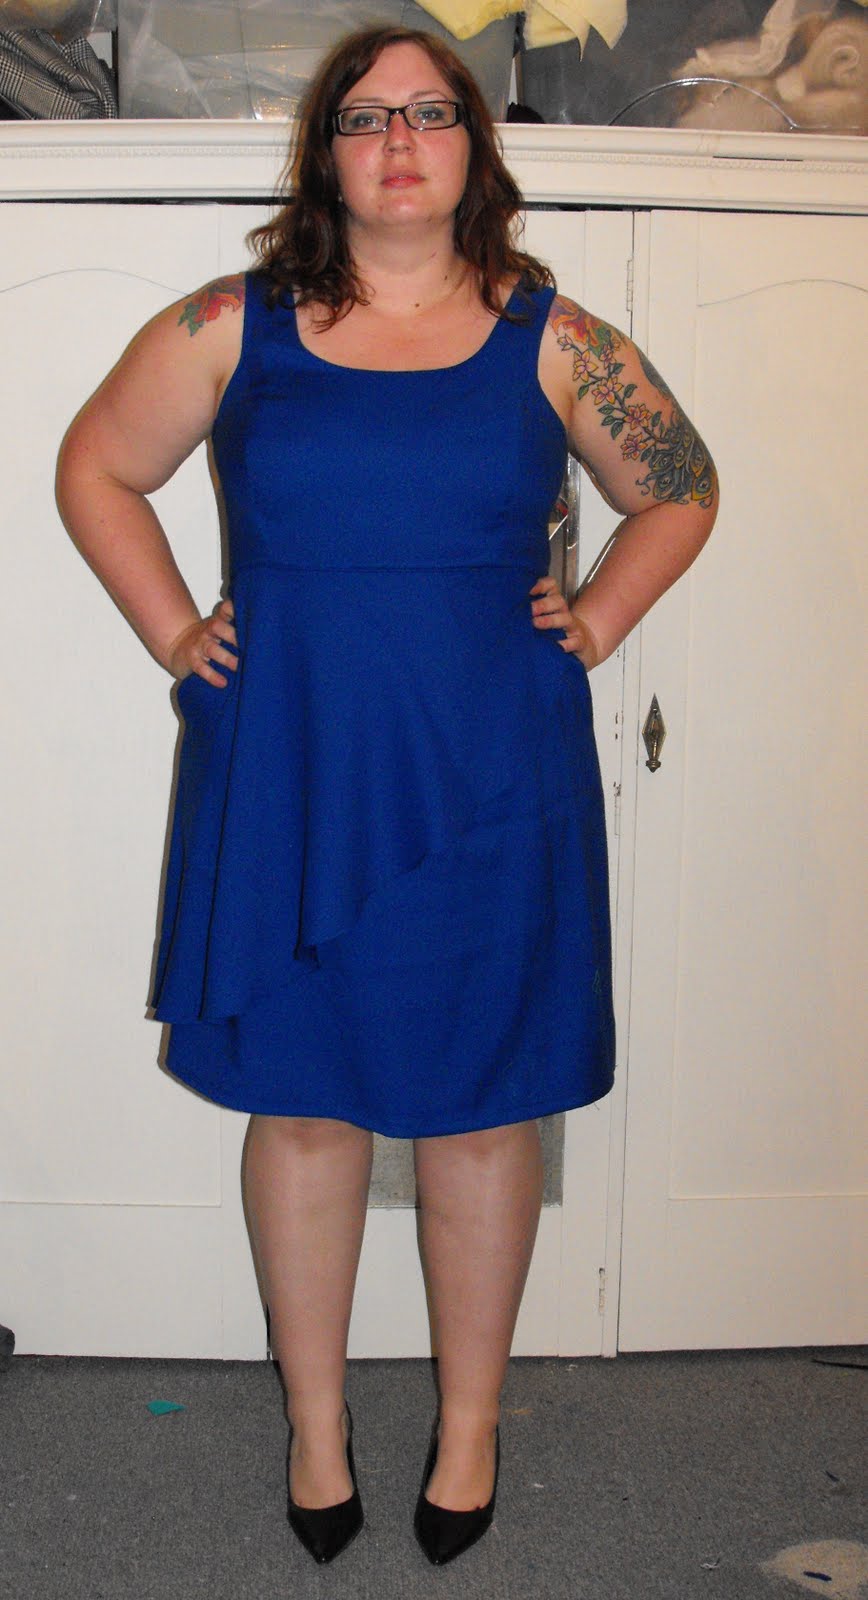
For the office I'll wear it with a shrug


This is the second time I've made this pattern (first time is here). I managed to win a couple of ebay auctions a while ago from a closed down craft shop - I got a full (small) display of mettler threads (drool!), and a big mixed collection of lace, heaps of elastic and some boning. I saw this tutorial on inserting lace and thought I'd use some of the lace I won. After I sewed the top seam though I decided I liked the scalloped edge enough not to bother putting the bottom facing on.


I put the lace around the edge of the bodice too


I really like this pattern- if you use a different fabric for lining (I used a stretch poplin), you can squeeze a dress out of 2 meters. This fabric is a stretch drill I picked up for $3.50 a meter on clearance. Its quite nice to sew, nice and stable but still with some stretch for wearing.


I made a size 20 again, with a 1.5"FBA, added pockets again from S2588.


This is the first time I've made something that lined up with this weeks Sew Weekly challenge, so that's kinda cool. I ended up working extra and doing a big spring clean this week so the dress took a bit longer than normal to be put together, plus on the finishing touches I managed to cut a hole through the back of the dress when I was using the serger to finish the zipper seam......I used a iron on mending patch and its not noticeable but its not the first time I've done this accident, you'd think I would have learned by now!

Saturday, November 19, 2011

Colette Sewing Handbook: Truffle Dress


Pattern description: A line dress with a skirt ruffle overlay and a lined bodice

Fabric used; I was a crepe that I was given


Size: I made a 18 with adjustments. I made a 1" FBA then turned it into princess seams and ended up taking about an inch out of the back width. I also added about 2" to the length and scooped out the neckline deeper.


I loved the ruffle across the front of the dress when I first saw it in the book and was originally going to make this up out of a grey gaberdine that I have but after spotting the crepe I thought I'd use that. Well, this fabric had a definate ability to grow as I sewed, even after I stay stitched the neckline. So when I went to insert the lining it didn't match up very well and I still have some rippling down the zipper and on the very top of the princess seams that I'm not very happy with. It's slowly growing on me, straight after I finished it I thought about unpicking it all but I've calmed down a bit now and am starting to really like it!


So anyway, I really liked the construction method of this dress, of course I only read it properly after I'd finished D'oh!! If you follow the instructions (like I will next time!), the final seam you construct is actually the side seams, meaning there is no need for any hand stitching and its a very neat finish.

Now for the good stuff;

I added pockets!


The ruffle is just gorgeous


Piping around the neckline, armholes and waist


What I think is rayon lining (part of my husbands Grandma's stash she gave me, so much fabric!! All beautiful quality but I have no idea what half of it is, lol!)


Invisible zipper


Its a very pretty dress pattern, and I will make it again. There's so many options, it would look so pretty with a chiffon overlay, and I wonder about something like a sateen, it would be stiffer but I could iron it down a bit if it stuck out and maybe a knit - it would be so comfortable in something like a Ponte! Plus the ruffle would be so easy to add to any other dress pattern and I like how versatile it is - you can be worn to the office or just out grocery shopping.

Thursday, November 17, 2011

Colette Sewing Handbook: Taffy Blouse V2.0


Ok, second version of the Taffy Blouse - probably the biggest change I made was to use a knit for the main fabric and a chiffon just for the sleeves. I took a good 1" sway back adjustment and dropped the bust dart by an inch, graded in slightly at the waist and out a bit at the hips. I think I could have still taken more out of the lower back as I still have fabric pooling, and I need to readjust the bust dart up slightly, I think using the knit instead of a bias cut fabric changed the way it fits slightly, so I might trace one copy for knits and one for bias fabrics. I find this top a lot more practical and I know I'll wear it a lot more. I might bring the shoulders in slightly on the next version too as it has a tendency to slip around a bit.


I used hem tape for the first time, I couldn't find steam-a-seam that I see used a lot, so I got a cheaper version at Lincraft but it worked great! made stitching the hem and neckline a breeze and no rippling in sight!


I used a rolled hem on the sleeves and bias bound then turned and stitched the neckline, I probably could of got away with just serging and turning under though, but it does look nice and neat.


So I'm very happy, I saw a top nearly identical to this for sale for $59.95 at City Chic (Australian plus size shop) and I reckon I made this for under $3 - I found the knit fabric at the op shop 3m for $2 and the chiffon was on clearance at spotlight for $2 a metre and I barely used 30cm. Bargain!!

Wednesday, November 16, 2011

Colette Sewing Handbook: Taffy Blouse


Pattern description: Floaty blouse with flutter sleeves and bias bound edges


Size: I made a straight 18


Material used: Polkdot chiffon and a poly/cotton blend for the bias binding.


I did a rolled hem. I'm actually really happy with it, last time I tried it, it was a freaking disaster!


Well this has to be the most succesful time I've had with chiffon, let alone bias cut chiffon! I used a chalk roller to mark out the pattern pieces and really took my time cutting out. I rushed the bias binding a little bit but I don't think its noticable.

I thought the instructions were very clear, and I learned that with a french seamed garment you sew the shoulder seam, sleeves in then the side seams finally. It worked a treat and I ended up with a top that had every seam including the sleeves with a french seam.

The fabric is a bit over the top (I can just never resist polkadots, lol) but I quite like it under a vest like in the top photo, and thats the most likely way I'll wear it. Its very flattering to a curvy girl and the flutter sleeves fit so easily over larger arms. I actually forgot to add the waist ties, but they would have helped with the excess in the lower back. I've already bought the fabric for the next version, lol!

Book Review: Colette Sewing Handbook


Book Index/Chapter headings;

Chapter 1: Getting Started
General basic information like different hand and machine stitches, gathering, darts, installing zippers. I really like the information on using 3 lines of gathering stitches for a more even gather as I've only ever used 2 lines.

Chapter 2: A Thoughtful Plan
Making a sewing plan including dressing for your shape, colours, making a mood board.

Chapter 3: A Precise Pattern
Information on pattern markings, marking out and cutting out.

Pattern: Meringue Skirt

Chapter 4: A Fantastic Fit
Some very basic information on fitting. I'm actually a tiny bit disappointed in this section, I know this isn't a specialised fitting book but I feel that the information is so brief that it's not overly helpful. There's information on how to do the basic alterations but not how to tell if you need that alteration. All in all, if you need help fitting get a good book like Fit For Real People.

Pattern: Pastille Dress

Chapter 5: A Beautiful fabric
Basic information on fabric types.
I like the tip about using a Fabric Stabilizer spray for fabrics such as Chiffon (I've just got to find it for sale here now!)

Pattern: Truffle Dress

Chapter 6: A Fine Finish
Includes making bias tape and different seam finishes and some basic information on lining.

Pattern: Taffy Blouse


Chapter 7: Keep Learning

Pattern: Licorice Dress

A note on the Patterns: As usual the instructions for the patterns are beautifully clear and the illustrations are lovely. Very easy to follow and I love that the book is spiral bound so it lays nice and flat when you are sewing.

Does this book have clear illustrations or photographs? Yes - the whole book is beautifully presented

Would you recommend this book as a MUST HAVE?
Even though this book is aimed towards beginners it tends to just touch on a lot of things and doesn't quite go into enough detail. I really wish she'd been able to include a more comprehensive fitting section, but hopefully its enough to interest a beginner to then get some specialised fitting books.

Having said that though it is a beautifully presented book and I like Sarai's relaxed writing style. The patterns are the main reason I bought the book and I am very happy with them, it's great value if you just work off the patterns themselves (5 patterns at $18 each = $90 value) and I must say that it is the best sewing book I've bought that includes patterns. Its not a craft book it is a proper dressmaking book (no cushions or slipcovers in sight!).

So in summary; Buy it for the patterns and the sheer beauty of the book and photos.

Tuesday, November 15, 2011

Style Arc : Bobbie Bask Skirt V2.0


So I loved my last version enough that I made it again straight away, with the extra length added at the beginning this time!

I used a jersey which is a bit heavier than the ITY knit I used last time, but I've been wanting a stripy circle skirt since I saw this one over at icandy handmade

I like the way her stripes run more than mine, but this was the only way I could fit it onto my fabric.


This skirt is so comfy, I love it! The perfect summer skirt to sit at the beach and eat Fish and Chips!

Monday, November 14, 2011

Style Arc : Bobbie Bask Skirt


I found Style Arc Patterns the other day from Pattern Review, I love their Clover Cape and the Jasmine Pant, but seeing as I need more skirts first I got the Bobbie Bask skirt

I mean its a pull on circle skirt, who can resist!

Pattern Description: Fun semi-circle knit, knee length skirt, featuring a flattering gathered bask. Elastic waist makes this skirt easy to wear and easy to sew.


Size: Style arc don't do multisize patterns so I checked the sizing and ordered an 18 which I found spot on.

Pattern instructions; I found them a bit brief, there were a couple photos which helped a lot, but I would recommend some help if you were a beginner - the skirt itself is very easy to make and would be fine as a beginner project.

I used a ITY knit that was in my stash for the first version, and because I was feeling like living dangerously, I decided to do no muslin.

The only change I had to do was add 4" to the length - the pattern description say's its a knee length, but I found it a lot shorter.

I love the gathered waistband, it does add a bit of bulk though, so if I was using a heavier knit (like a ponte) I wouldn't have gathered it, I reckon just doubled over would be fine.


You can see where I joined on an extra strip for length. I used the rolled hem on my serger to finish the hem, and a mix of stretch stitch on my Janome for the waistband and a straight stich for the skirt sides and serged all the edges. I find if I just serge it isn't as strong and I get thread showing, could be that my serger needs a service (I was given it, its 23 years old and as far as I'm aware has never been serviced)


Anyway, I highly recommend Style Arc, I found the skirt was beautifully drafted, it all went together like a dream and the fit was spot on. I like how they include a sample of the fabric used to make the sample skirt so you can get a better idea of what fabric's the best and I found the sizing spot on - pretty much exactly what I wear in RTW clothing. I like the drape of the skirt and how the waistband is elastic but doesn't look elastic, in fact you sew the elastic on as if it was stay tape, so it stops the waist from stretching out over time as well.


Friday, November 11, 2011

Sewaholic 1101 : Crescent Skirt


Pattern Description; Gathered skirt with a fitted yoke. Your choice of a slightly gathered skirt, a fuller gathered skirt or a longer, knee-length skirt. Optional trim or contrast topstitching highlights the fitted waistband

Size: I originally graded up to a size 18, but then took about an inch or two out of the waistband, so probably close to a size 16 at the waist and an 18 for the skirt

Fabric; I used leftover Sateen for the waistband and a plain cotton for the skirt and piping


I added piping to the pocket edges


And piping and topstitching down the yoke details (I cut the front yoke as one instead of two separate pieces)


Ended up having to use an invisible Zip because it was all I had that matched


I hemmed it a bit shorter than what I usually like skirts, but I found it looked a bit frumpy on me with it longer.

I'm a bit on the fence about this skirt, i love the waistband and I like the detail to the yoke and the pockets. It was well drafted and went together beautifully. I found it a bit of a straight skirt and I think I should have made the more gathered version, but mainly I think its the fabric....It just feels a bit Becky Home Ecky (thanks a lot Project runway, lol). It crumples and doesn't have the weight to pull it down properly. Maybe I'm just too used to sewing skirts with Sateens or knits.


I'll make it again, but either with a different skirt (I'm thinking of Colette Ginger with the Crescent skirt yoke waistband - I could never get the more straight waistband of the ginger to fit properly, but I loved the A-Line skirt)or different fabric.