Wednesday, December 7, 2011

Restyle week: McCalls 6350 vs. Colette Eclair


I started making this dress a few months ago, I began by making McCalls 6350, but couldn't manage to get the bodice to fit correctly, so I used the Eclair bodice. I did it as a strapless dress originally but then the bodice was too big, so added elastic to the back, but it still kept falling down. So I decided to add straps plus I wasn't that happy with my inside finish which meant unpicking everything, so it got stuck on my wadder pile.

To fix it, I unpicked the entire bodice and lining, added straps, did a lot better finish (the first time I just serged everything) by facing the invisible zipper properly and slip stitching the lining down.

Before;


After;


Patterns details: McCalls 6350 for the skirt and Colette Eclair for the bodice

Size: 20 for the skirt and 18 for the bodice.

Material used: Sateen for the main fabric and stretch satin for the lining and piping.

Will you make it again: No I don't think I will. One is enough.

It doesn't look like a massive change from before to after but at least its wearable now, and I do love that fabric!

Tuesday, December 6, 2011

Restyle week: Kwik Sew 3783

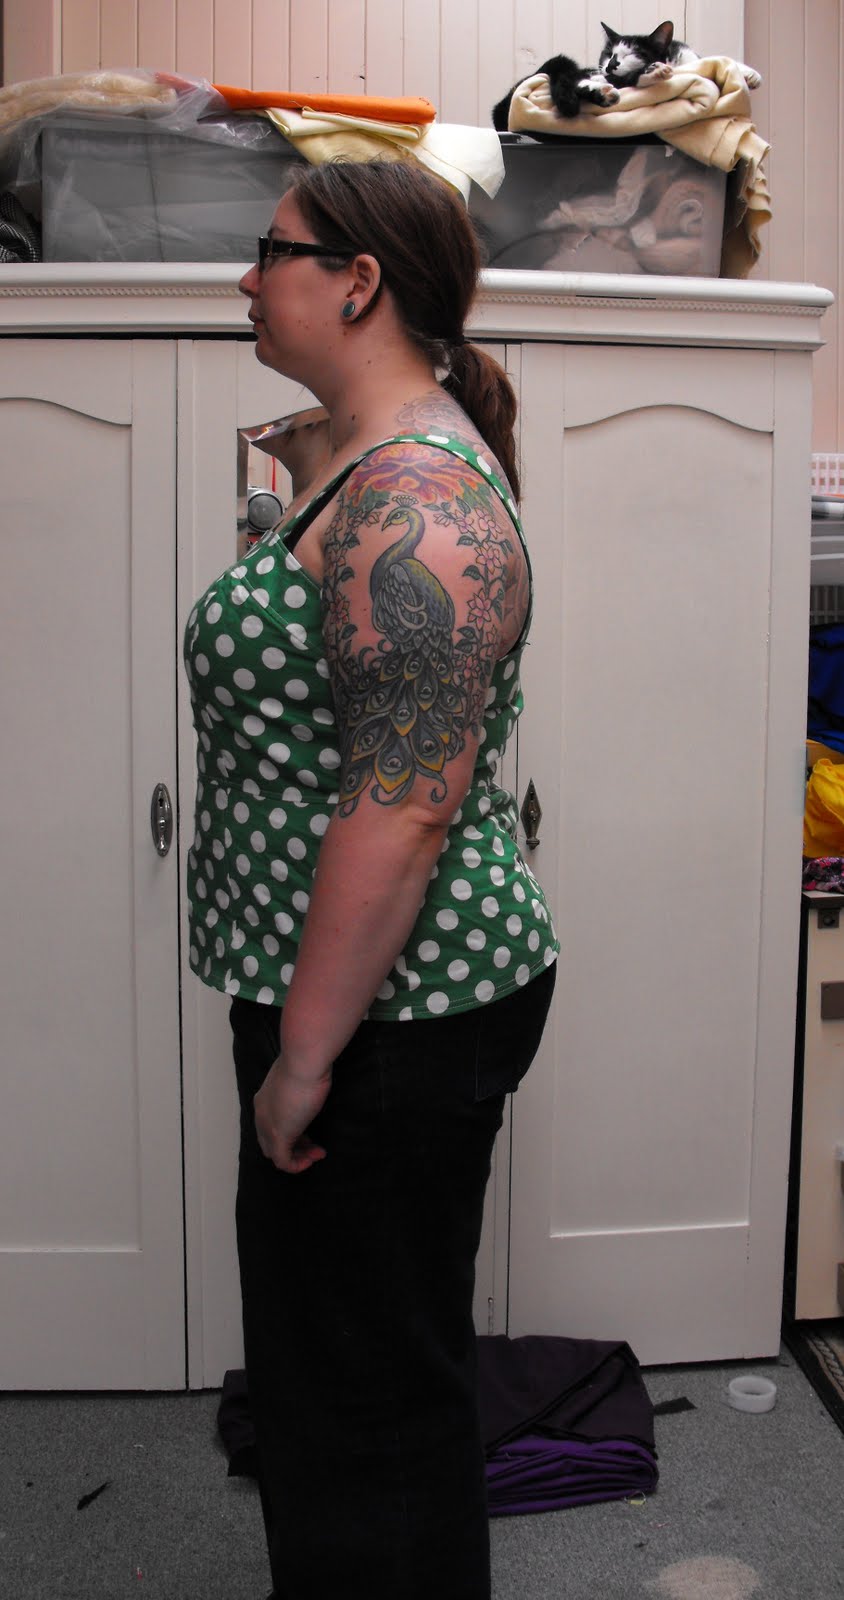
This was the first dress I made, the zippers installed a bit crappily but the rest of the construction isn't that bad (the princess seams are better than some I've sewn lately!). I've never worn it though because I made it out of a cotton drill with no stretch and I think the skirt is either a bit too tight or needs a lining as it would ride up when I walked. So I decided to crop it off into a top. It actually sits a lot better as a top and I like it so much I'm planning on making another one!
The colour didn't photograph well, but its a nice bright apple green.

Before:


After:


Pattern Details;
Kwik Sew 3783. I made view B

Material Used: Cotton drill

Size: I made the XL with no adjustments

Will you make it again: Yes - If I make the dress again I'll use a sateen or double knit and if I make it as a top it will be either a woven or stretch.

Monday, December 5, 2011

Restyle Week: RTW tops

I feel like I've lost my sewing mojo this week, I've made a couple muslins (Colette Jasmine which I decided I just don't really like on me after 3 muslins.....), and written a list of future sewing projects but nothing is really grabbing my fancy so I thought I'd take a page out of Patty the snug bug's book and do a restyle/flop fixing week

I've been making a lot of dresses lately, but when I stopped and really thought about what I wear it's nearly all pants/jeans and tops, I have a few pairs of pants now but only a couple good tank tops, and they're knitted so will be fairly hot coming into summer.

So for the first restyle I have 2 lovely tops (one in gray and one in black) I bought a couple of years ago but have never really worn, looking at them now I realise the proportions on me are way off, they seem to make me look short and a bit shapeless. So I cropped them off and used some hemming tape then double stitched the hems. I'm still contemplating sewing the front satin panel down as its separate to the rest of the top , but I'll see if it annoys me.

Before;

After;


Sunday, December 4, 2011

Sewing organisation: Fabric and Patterns

When I started sewing I was gifted with my husbands Grandmothers stash. It has some beautiful fabric and when she bought fabric she always got matching lining and buttons! But it was all kept in plastic bags that when they had moved was shoved into boxes with mothballs. Plus I have built up a bit of a stash myself since.

So I wanted to organise it all a bit better, and to help stop me buying more fabric that I already had. I searched a lot for different organising ideas, tried a digital storage method and a sewing app for my iphone but they didn't really work that well and the app was a PITB. I came across this from Gigi Sews blog and since its such a fantastic idea I went and got some binders and typed up a fabric cataloguing sheet and since then each time I buy fabric I wash it, dry it and write it up.

Index of fabric


Catalogue sheets


I did try stapling the swatches in, but then I found kids glue sticks work really well (I use Tarzans grip, but any glue stick is good)

I follow Gigi's pattern organisation ideas as well, keeping all the pattern envelopes in a binder sectioned off into catagories like jackets, dresses, etc and all the pattern pieces in a large manila envelope with the pattern number wirtten on it and kept in numerical order. I trace all my patterns so its great to have a big envelope that it can all fit into.


I keep the binders in my bedroom (my sewing room is in my back shed) and its nice to get an idea for a project and then be able to check for a pattern and see how much fabric I have.

Saturday, December 3, 2011

Sewing organisation: Sewing room


I used to sew inside the house, set up on the kitchen table. It drove me nuts having to pack away everything everytime we wanted to eat dinner so I commandeered our back shed, lol. It get freezing in winter and boiling hot in summer, but its lots of space and it feels separate to the house so its a bit of a getaway to head out there.

I lined the walls years ago with timber and painted it, plus used some old carpet and a rug we had to line the floors.


I use a trestle table for my cutting space


I got this cabinet at an auction for my sewing machine


This cabinet and my overlocker was from my husbands Grandmother


Also from his Grandmother was a massive box of patterns, unfortunately they are pretty much all 1980's and not exactly my style. She did buy a lot of Vogue though and had all these original labels in a bag


This is the wardrobe I stand in front of for photos, I installed shelving in it and labled everything. I make sure I wash everything and catalogue it before it goes in the wardrobe


This is the other side, I keep my interfacing, buttons and zippers in it


I won this on ebay from a closing down craft shop (best score ever!), I can't remember what I paid for it exactly but I think it worked out to around 40c each spool of thread.


I always enjoy a look through someones sewing room so I hope you liked it!

Thursday, December 1, 2011

Burda 6011; Bella Jean Shorts


This pic is the most accurate one of the colour (except I look like Earl Hickey, lol)


This is my TNT jean pattern - I've made it 6 times so far and I just love it. It was the first pattern for pants I made and I was so lucky that it fit so well because back then I had no idea how or when to make adjustments. This is a straight sz 46 with the pockets changed (I made them deeper) and the waistband shortened to sit at my natural waist.

I saw this fabric at the clearance table at spotlight (I kinda stalk it a lot!) and seeing as it was stretch denim down from $29.95m to $4 I grabbed a couple of meters. Bright denim is really popular down here for summer so I thought I 'd make a pair of shorts. I took in the sides a bit as the jeans pattern is fairly wide legged. They have some wrinkling around the front as if they're too tight, but they don't feel it when I'm wearing them and as they've already started to stretch out I didn't want to do them too loose as I've ended up unpicking and tightening up each pair of denim pants I've made so far!!

I wanted these to look more like proper jeans so I changed the back pockets to look more like jeans,


added rivets and got rid of the pleats in the front and made the front pockets curved and a lot higher up. Plus I added some top stitching to pretty well everything and did double top stitching down the crotch and inner leg seams. I was thinking about trying felled seams again but I've only ever played around with them once and before I have another go I think I might get myself a flat felled seam foot for Xmas!


I used my Prym pliers again and set rivets and the jean buttons in (seriously if you can, get one, it makes putting them in so easy compared to using a hammer).


I used a normal zipper


The pattern has a pocket stay drafted into it already


and I used some sateen from a wadder dress to face the inside of the waistband


And this isn't exactly sewing related but my cat say's hi!

Monday, November 28, 2011

Simplicity 2176 Do over


For the office I'll wear it with a shrug


This is the second time I've made this pattern (first time is here). I managed to win a couple of ebay auctions a while ago from a closed down craft shop - I got a full (small) display of mettler threads (drool!), and a big mixed collection of lace, heaps of elastic and some boning. I saw this tutorial on inserting lace and thought I'd use some of the lace I won. After I sewed the top seam though I decided I liked the scalloped edge enough not to bother putting the bottom facing on.


I put the lace around the edge of the bodice too


I really like this pattern- if you use a different fabric for lining (I used a stretch poplin), you can squeeze a dress out of 2 meters. This fabric is a stretch drill I picked up for $3.50 a meter on clearance. Its quite nice to sew, nice and stable but still with some stretch for wearing.


I made a size 20 again, with a 1.5"FBA, added pockets again from S2588.


This is the first time I've made something that lined up with this weeks Sew Weekly challenge, so that's kinda cool. I ended up working extra and doing a big spring clean this week so the dress took a bit longer than normal to be put together, plus on the finishing touches I managed to cut a hole through the back of the dress when I was using the serger to finish the zipper seam......I used a iron on mending patch and its not noticeable but its not the first time I've done this accident, you'd think I would have learned by now!